
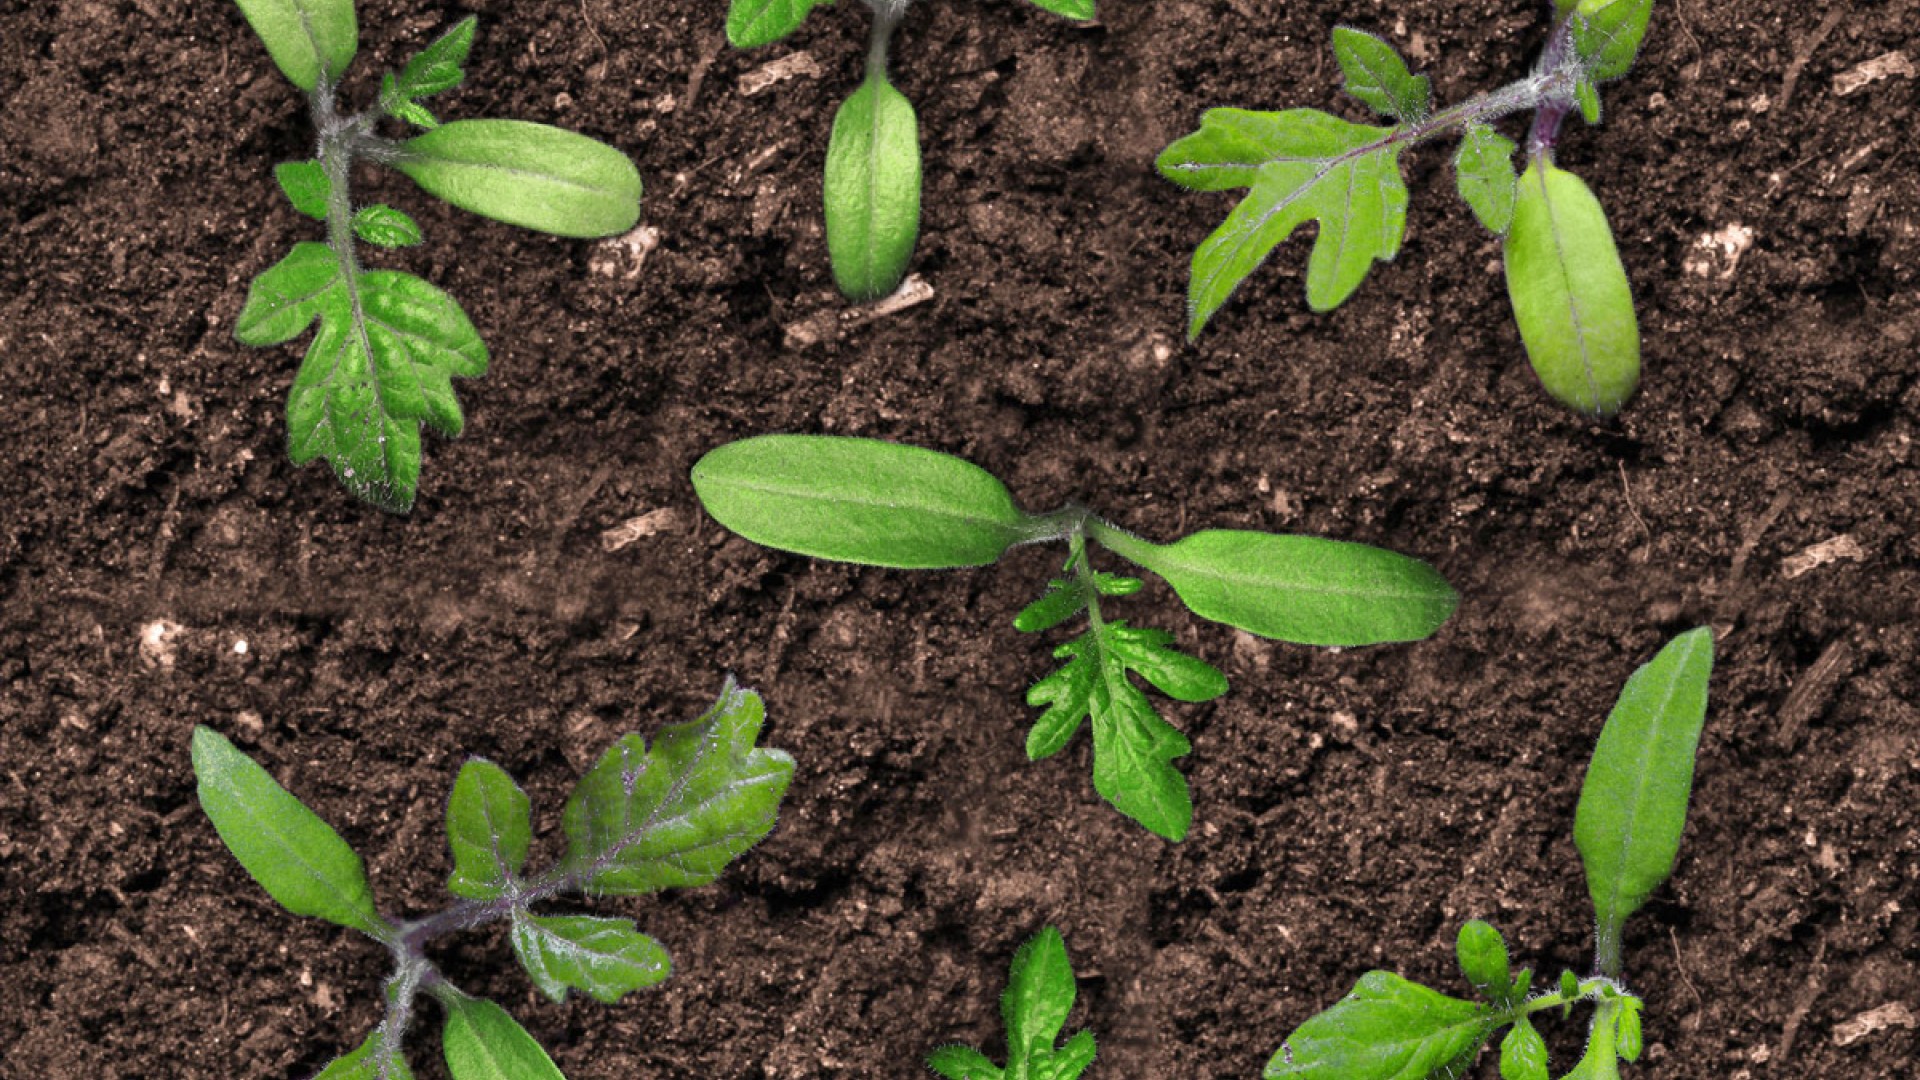
There is something miraculous about starting seeds indoors. You press a tiny seed into damp soil, and wait—trusting that in the dark, something is stirring. When that first pale loop of green pushes through, it feels like a small victory. But between that first emergence and a strong, transplant-ready seedling, there is real work to be done.
Our Seeds to Seedlings workbook, part of the Seeds to Splendor educational series offered through CCE Orleans and the Orleans Community Seed Share, walks you through that journey from start to finish. Whether you are brand new to seed starting or looking to improve your results, you’ll find some of the most important things to know—along with a few honest lessons learned the hard way in our Northern New York climate. And if you are still looking for seeds to start, the Orleans Community Seed Share has an amazing selection of vegetable, herb, and flower seeds available to browse free of charge at the Education Building at 12690 State Route 31, Albion, Monday through Friday, 8:30 am to 4:00 pm.
Timing Is Everything—And It's More Complex Than the Seed Packet Suggests
Seed packets are written for a general audience, often by growers in very different climates. The advice on the back of a tomato packet from a California seed house may not fit our conditions in Orleans County, where our average last frost date typically falls in mid-May and our growing season is shorter than much of the country. The seeds in our Seed Share library are largely open-pollinated and heirloom varieties that have proven themselves in gardens just like yours—a great place to start if you are building your planting list.
The workbook encourages you to build a custom planting schedule based on your own location. That means knowing your average last frost date, factoring in how long each variety needs to grow indoors before transplanting, and leaving time for hardening off. It also means considering your microclimate—that low spot in the yard where frost lingers longer, or the south-facing wall that warms up early.
Lighting: The Most Important Factor
If there is one message we want every seed starter in our area to hear, it is this: a south-facing window is not enough.
In Western New York, our late winter and early spring days are short, often overcast, and the light that reaches even our sunniest windows is too weak and inconsistent to grow compact, sturdy seedlings. The result, without supplemental lighting, is almost always the same: tall, pale, spindly plants that flop over and struggle at transplanting time.
Having the best grow lights you can afford changes everything. Here is what to look for:
Spectrum matters.
Look for full-spectrum or blue-green (400–550nm) grow lights. Blue-green light promotes compact, sturdy growth and prevents the legginess that window-grown seedlings are famous for.
Intensity matters.
Not all bright lights are created equal for plants. A light that looks plenty bright to your eyes may still leave seedlings starved for what they actually need. When in doubt, choose a light specifically marketed for seed starting or plant growing—these are designed to deliver the right intensity at the right wavelengths, rather than just general illumination.
Distance matters.
LED grow lights should generally be positioned 8–10 inches above seedlings. Fluorescent lights work best when kept 4–6 inches away. As your seedlings grow, raise the light to maintain the right distance.
Hours matter.
Seedlings need 14–16 hours of light per day. A simple outlet timer is one of the best investments you can make for your seed starting setup.
Both LED and fluorescent options can work well. LEDs cost more upfront but last 5+ years and run cooler. Fluorescents are more affordable initially but need replacing every 1–2 years. Either way, the investment pays off in healthier transplants and better garden results.
When Things Go Wrong: A Troubleshooting Guide
Even experienced growers run into problems. The good news is that most seedling issues have clear causes and straightforward fixes. Here is what to look for:
Spindly, stretched growth — Almost always a light problem. Move lights closer, add more hours, or upgrade to a stronger fixture.
Stunted growth with normal color — Usually low fertility. Begin feeding with a diluted balanced fertilizer.
Stunted growth with purple leaves — Phosphorus deficiency. Apply a phosphorus-rich soluble fertilizer at 50 ppm daily for about a week.
Stunted growth with yellow leaves — Nitrogen deficiency. Apply a nitrogen fertilizer solution at 50–75 ppm daily for about a week.
Wilted shoots with stunted growth — Could be Pythium root rot, overwatering, or salt damage from over-fertilization. Reduce irrigation and hold off on feeding.
Stems rotting at the soil line — This is damping off, a fungal disease. It's most often caused by too much moisture and poor air circulation. Use a sterile, well-drained starting mix and improve ventilation. Prevention is far easier than treatment.
Green algae or moss on the soil surface — Too much moisture. Let the surface dry slightly between waterings and improve airflow.
Don't Skip the Hardening Off
After weeks of careful indoor growing, it is tempting to rush transplanting when the weather finally cooperates. Don't. Moving seedlings directly from a stable indoor environment to the variable outdoor conditions—wind, direct sun, fluctuating temperatures—is a shock that can set plants back for weeks or kill them outright.
The workbook recommends a 10-day hardening-off process: start with just 1–2 hours outside in a sheltered, partially shaded spot, and gradually increase the time and sun exposure each day. By days 9–10, your plants should be able to handle a full day outdoors and be ready for transplanting.
Download the Workbook—It's Free
The Seeds to Seedlings workbook includes everything covered here and more: a full vegetable reference table with germination temperatures, spacing, and timing data; planting schedule templates you can fill in for your own garden; detailed germination and seedling care guides; and a complete troubleshooting chart. You can download it for free here.
The workbook is part of our ongoing Seeds to Splendor educational series, offered free to the community through the Orleans Community Seed Share program.
Come Browse the Seed Share—Then Close the Loop
The Orleans Community Seed Share is open year-round at the Education Building at 12690 State Route 31, Albion, Monday through Friday, 8:30 am to 4:00 pm. We maintain an amazing selection of vegetable, herb, and flower seeds—all free to take, no library card required. Whether you are planning a kitchen garden, a pollinator border, or a cutting garden, chances are we have something that will thrive in your space.
Once you have grown your garden, we hope you will consider taking one more step: saving seeds. Our Seed Collecting workbooks walk you through everything you need to know—from which plants are easiest to save, to how to clean, dry, and store seeds properly. Saving even a small packet from your best plants connects you to a long tradition of gardeners who kept varieties alive by passing them forward. Save some for next year’s garden, and bring the rest back as donations to the Seed Share so others can benefit too. That generous cycle of growing and giving is exactly what keeps our seed library rich and our community gardens growing.
Questions? We're Here to Help.
Our Master Gardener volunteers love talking about plants. And this summer, from June to August, we’ll be holding Growing Community Gatherings on Wednesdays from 4 to 6 pm. Join us at the Vegetable Variety Trial Garden and the Three Seeds, One Community Demo Garden at the CCE Orleans Fairgrounds for tours of the gardens and a chance to ask your questions. We can’t wait to see you there!
Seeds are patient. They wait for the right conditions, and so can we. With good light, a little planning, and the right information, the gap between seed and thriving seedling is completely manageable—and deeply satisfying.
Master Gardener Volunteer Column

We openly share valuable knowledge.
Sign up for more insights, discoveries and solutions.