
Choosing Your Seeds
You can winter sow any seeds. The difference is when and how you sow them. Some trees and bushes need two (2) years of cold moist stratification. Some species need to be moist for a period but in warm conditions, and some seeds (paw paws) need to be moist before they go into the milk jugs.
Woody Species
Trees and bushes may need extra time to germinate so can be started in moist cocoa fiber. Cocoa fiber helps keep the seed moist but not too moist. It retains moisture for long periods of time, which can help with moist stratification without needing to check on them constantly.
- Start woody species like hawthorns, some viburnums, prickly ash and the like in slightly moistened coarse sand/cocoa fiber in a plastic zip lock bag in the refrigerator. Keep the bag with seed in the refrigerator for two or three (2-3) months, then two to three (2-3) months on the counter (shade counter), then in the milk jug they go.
Most Perennials
- These can be sowed any time from the winter solstice in December to January or February. Not all perennial seeds require cold moist stratification but most native species (like milkweed) do.
Annuals
- These can also be sown outside, but later in the year. I start my annuals in milk jugs in February or March. Any annuals — vegetables or flowers — can be sowed this way. Tomatoes go into jugs last because they need warm soil to germinate and can rot if in moist soil too long.
Step 1
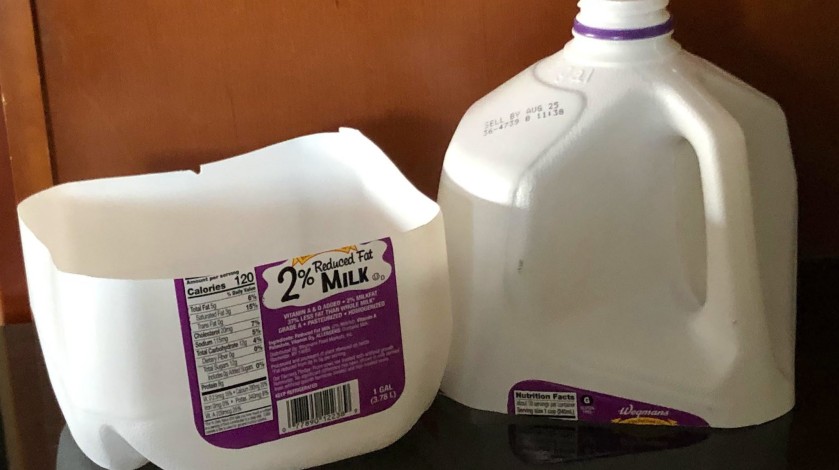
Find a plastic container, such as milk or vinegar jugs, soda bottles or deep foil pans with clear lids.
Native perennials or grasses do not need a top as long as you protect them from furry creatures but the "greenhouse" aspect of this method means there has to be a top on the container. If you are using a jug or soda bottle, carefully cut off the top half of the container. Keep this piece to use as your "greenhouse" cover and predator protection.
Step 2
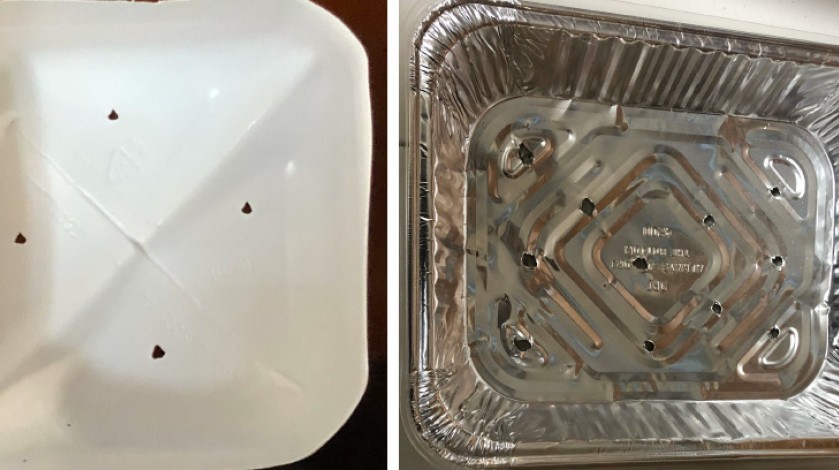
Poke drainage holes in the bottom of the container.
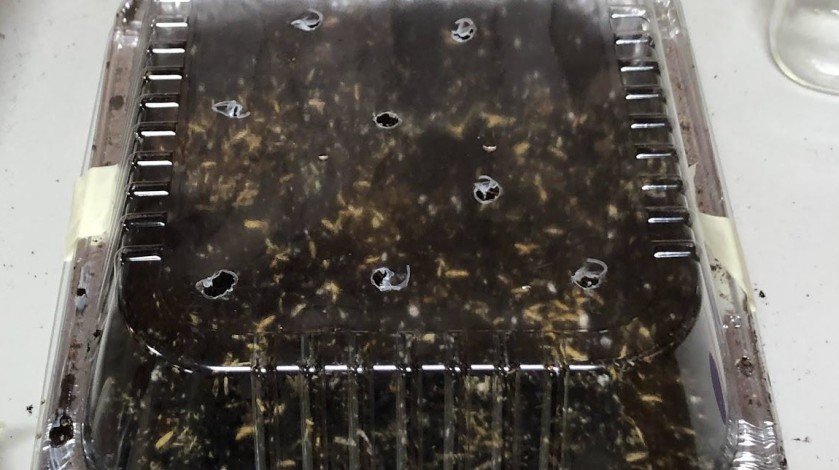
You will need to poke drainage holes in the bottom of the container (sometimes the top). If you are using a foil pan with a plastic lid - add holes to the top of the container — then duct tape top and bottom together before you put it outside. The bottom of the container needs to drain the water so the seeds don’t swim, and the top requires holes so that water can seep into the container.
For milk jugs, cut the top off completely, remove the cap and, once all the soil/seed is added, jam the top of the jug inside the bottom. This should ensure a sufficient number of holes to allow water inside the vessel. If you do not cut the jug completely in half, then you should add one or two holes on top in addition to the bottom.
Step 3
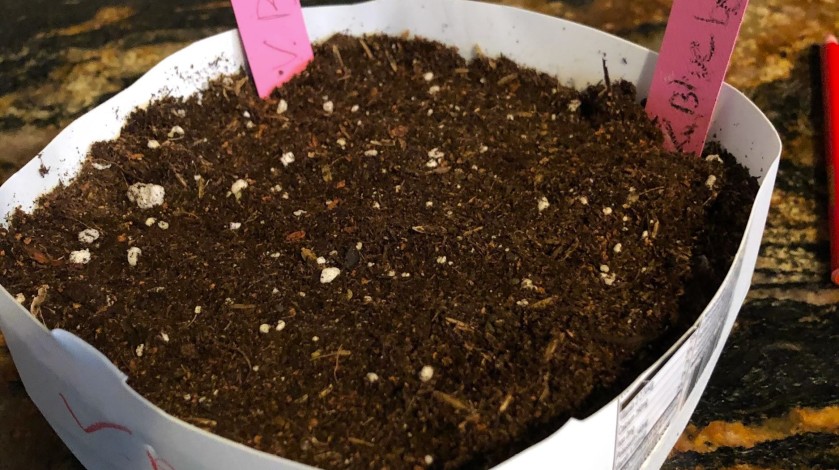
I fill the bottom of the container about one-quarter to one-half of the way up with an organic potting mix and some rice hulls. This mix should be good for the seed from the time you put it out to the time you open the container in the spring. Sprinkle the seed in the soil mix and then cover lightly with a soil mix and coarse sand.
The coarse sand stops the seed from moving around when you do have to water it. Soil depth for covering the seed can depend on the seed but a light coat of soil and coarse sand should work for most seeds.

Step 4
Many websites show the duct tape method, but I cut the jug in half and then jam the top of the container into the bottom leaving the opening of the jug open.
That leaves plenty of vents for air to circulate and water to seep in while keeping the "greenhouse" aspect when the sun starts to warm the seed. Label the bottom of the container (Trust me – otherwise you will have mystery plants).
Step 5
Position the containers somewhere outside where they can get snowed on but are protected from the wind.
You can monitor the seed by looking into the jugs and open the jugs during the spring on warm sunny days to prevent overheating. After frost danger has passed, you can divide the plants and pot them or plant them.
Master Gardener Volunteer Column