• Agriculture
  • Vegetables
As we learn more about reducing microbial risk on the produce farm, more emphasis is being placed on cleaning food contact surfaces. Accessing the hard to reach spaces in wash line equipment is challenging. Most of the equipment was not made to come apart very easily or in an economically efficient manner. The checklist provided here has been developed through hands-on research cleaning equipment as thoroughly as can be measured without doing microbial testing. From our work, the level of cleanliness provided here appears to be sufficient. Critical cleaning points are identified.

Tools Required

These tools do not represent all other types of tools that could be used.

  • Bottle Brush Set (Dxg 8.2” nylon tube brush cleaning set 1/16” - 1” diameter)
  • Silicone Bottle Cleaning Brush (Kitchiny 12.5”)
  • Rotary Dryer Vent Cleaning Kit (Gardus expandable flexible brush attaches to cordless drill)
  • Dryer Vent Cleaning Brush (Flexible brush)
  • 7-in-1 Multi-Purpose Paint Tool (Red Devil) - used for getting into tight spaces on the absorber
  • Stiff Bristle Kitchen/Floor or Bath Brush
  • 2-in-1 Scrub Sponges (pack) - used to custom crafted scrubbers on a stick, with various shapes, to reach in between rollers, axles, and brushes
  • Pump Sprayer - used to deliver low pressure to specific points that need cleaning
  • Wrenches
  • Socket Set
  • Needle Nose Pliers or Vise Grips
  • Ruler
  • Floor Squeegee (17” blade 51” handle, heavy duty)


Getting Started

All equipment should be on wheels with foot locks. Cleaning in and around portable equipment is easier.

IMPORTANT: Unplug the equipment while cleaning it to avoid injury. 

To better reach into washer to clean, first remove top covers. Drill out rivets and replace with machine screws. For safety reasons, replace covers when equipment is in operation.

Conveyor – Exterior Checklist

  • Belt
  • Belt connector/splicer*
  • Flaps – underside*
  • Seams on the frame between sheet metal plates
  • Frame lip

* critical cleaning point

Cleaning the Conveyor

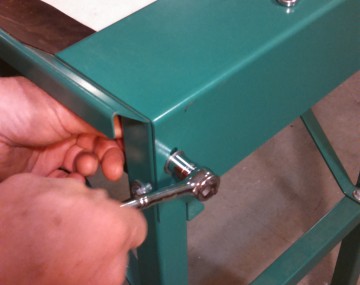
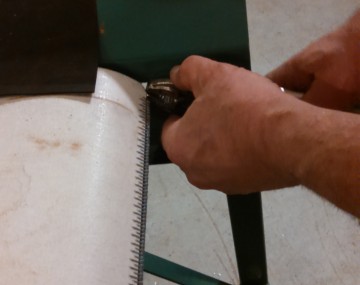
Close up of the end of a conveyor produce washer showing the use of a socket wrench to loosen a bolt.

To clean conveyor, wrenches are needed to remove the end cap plate.

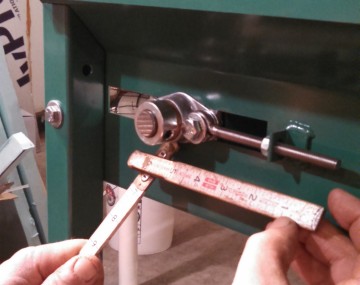
Close up measuring the location of the nut on the tension rod at the end of a conveyor produce washer.

To best clean the conveyor belt, the splicing rod needs to be removed. Measure where the nut is on the tension bolt to speed up the reassembly process.

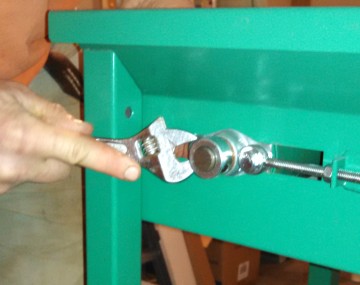
Close up of the end of a conveyor produce washer. An adjustable wrench is being used to loosen the nut on the tension rod.

Loosen nut with wrench.

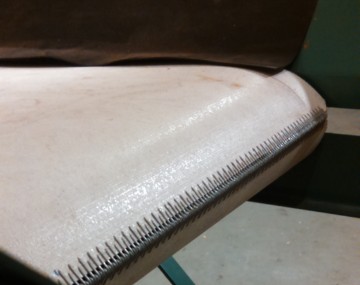
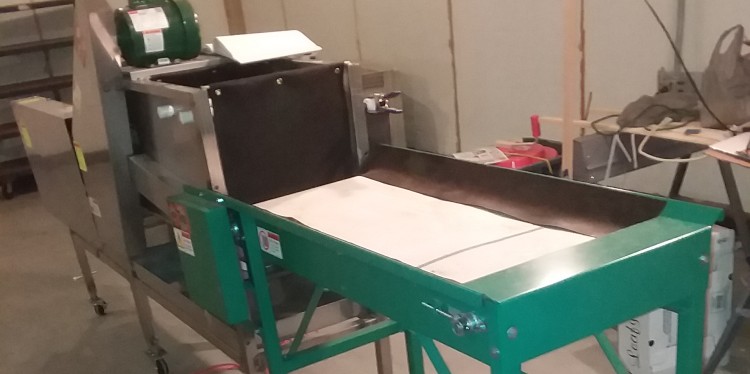
Conveyor belt on a conveyor produce washing machine.

Turn the power on, temporarily, to run belt to move splice so it’s lined up with opening on side of housing. Unplug the machine.

Close up of hands holding pliers along the inside edge of a conveyor produce washer near the end of the belt.

Needle nose pliers or vise grips can be used to grab the splicing rod and start to slide it out.

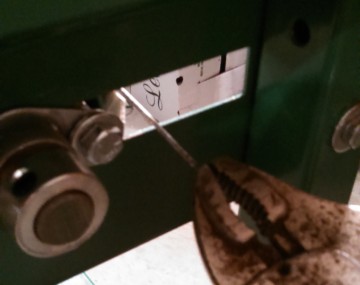
Close up of pliers on the outside of the housing of a conveyor produce washer pulling the splicing bar out.

Once the rod clears the housing, grab it with pliers and pull it all the way out. This then opens up the belt for easier cleaning.

The underside of the belt gets caked-on debris. The support rods and axles also can get messy. Scrub brushes and sponges work well for the interior cleaning.

Conveyor – Interior Checklist

  • Belt underside*
  • Belt support rods*
  • Rollers/axle*
  • Frame lips*
  • Legs
  • Crossbars/angle supports
  • Chain drive shield
  • Space around bolts

* critical cleaning point

Cleaning the Brush Washer – Exterior Checklist

  • Top cover
  • Flaps – remove if detachable to clean*
  • Spray nozzles and water pipe*
  • Space around water pipe as it goes through metal housing*
  • Areas below holes such as exterior cover for brush axles/bushings
  • Seams, holes around bolt areas, holes in legs
  • Rough welds
  • Frame lips
  • Drip pan area*
  • Angled metal plating directing water from brushes to drip pan
  • Legs and support bars under drip pan
  • Drive chain guard
  • Drive chain and sprockets

* critical cleaning point

Cleaning the Brush Washer – Interior Checklist

  • Nylon or plastic catch plate (between conveyor and brush washer and between brush washer and absorber)*
  • Rubber flaps*
  • Brushes – between bristles within bristle bunch*
  • Brushes – between sets of bristles*
  • Brushes – axle*
  • Axle – brush axle area that comes through housing – spaces or grooves*
  • Housing side walls
  • Underside of panel where motor is mounted*
  • Interior housing: holes*, seams – panel*, seams – rough welds*, frame lip*, bolt heads*, bolts – open spaces where bolts enter slots*

* critical cleaning point
 

To clean the interior of the machine thoroughly:

  • Requires access from either side of machine
  • Motor housing panel sits above blocking clear visible access
  • Reach in to clean as reasonable as possible
  • Use food grade grease cutting detergent as needed
  • Use scrubber sponges, various sized brushes, and sufficient lighting to see are all needed
  • Use back pack sprayer or low volume water hose to rinse of debris as you clean
  • Don’t forget to clean out drip pan underneath
  • Clean legs, cross bars, support bars, screw heads, holes, rough welds
  • Inspect for rust
     
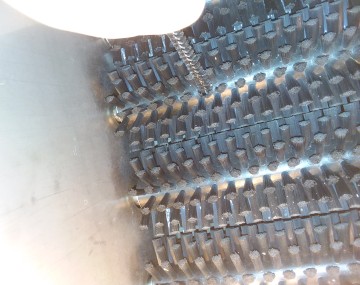
Looking inside a brush washer with stainless steel axles and bundles of bristles. Several brush sets are visible.

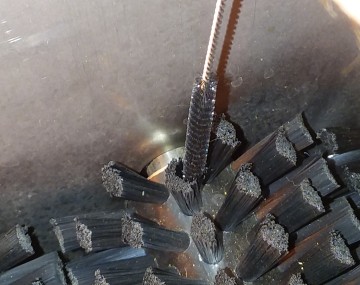
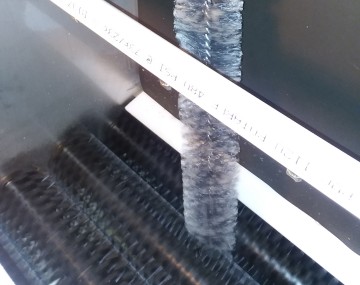
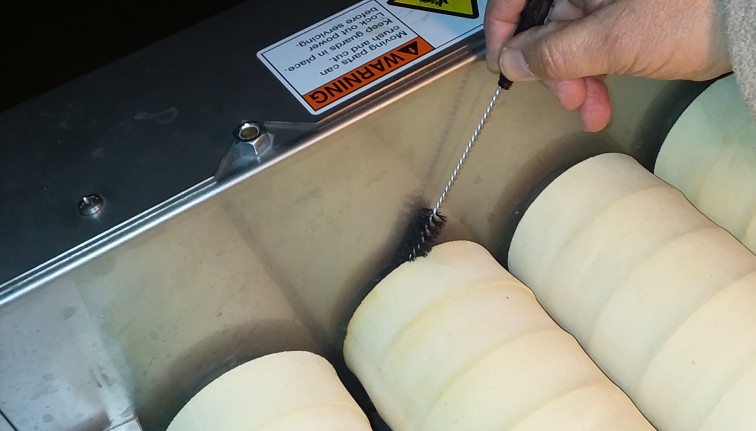
Use a stiff 1/4” bottle brush to clean between the bristle bundles and axle.

Close up of a bottle brush being used to get into a bundle of bristles on a brush washer.

Close-up of bristle cleaning.

Dryer vent brush being put down into a brush washer system between the brush sets.

A dryer vent brush with flex handle is a good tool for going between brush sets, between bristle bundles and, to some extent, between bristles.

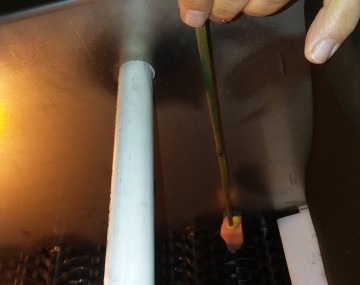
A hand holds a long, thin handle with a wedge of scrub brush attached to the end. It is being used to squeeze down between brush sets to clean the interior wall of a brush produce washer.

Homemade long-handle scrub sponge can be used to clean dried debris from wall.

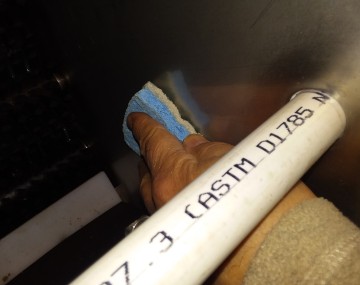
Close up looking into a produce washer. A hand is holding a scrub sponge to clean the interior wall of the machine.

Scrubber sponge should be used for wiping inside and outside walls, wherever reachable.

A brush conveyor washer tipped on one end, revealing the underside of the machine.

At least once a season a deep cleaning is recommended. This means accessing the underside of the equipment.
• Clean underside
• Use flexible brush to reach into areas where housing blocks view
• Clean support rods/bars
• Avoid the use of power washers since it will blow debris all over facility
• Put wheels on for easy moving

Cleaning the Absorber

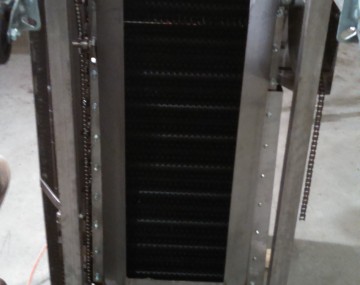
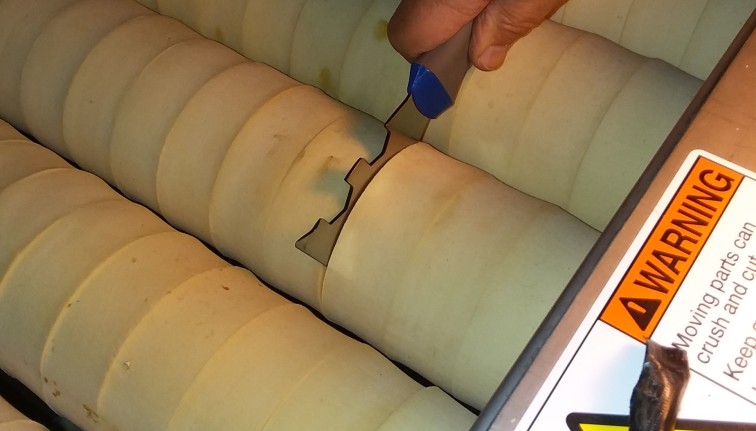
Foam donuts spin, wicking off water. Cleaning the absorber is challenging. You must clean between each donut, drive roller underneath, flaps and plates.

Cleaning the Absorber – Interior Checklist

  • Nylon plates
  • Foam donuts – spaces between donuts*
  • Space between donuts and interior walls*
  • Foam donuts*
  • Drive rollers underneath foam donuts*
  • Rods*
  • Drip pan*
  • Drip pan supports
  • Underside of housing
  • Legs
  • Frames
  • Supports
  • Bolt heads
  • Nut and threaded ends

* critical cleaning point

Clean the Absorber Exterior

Remove chain guards to access axle areas on both sides. As with brush washer, at least once a year do deep cleaning and disconnect from brush washer, set absorber on end and clean from underside.

  • Clean legs and supports
  • Clean underside of donuts
  • Clean drive cylinders
  • Clean underside of drip pan, outlet tube, and corners
  • Have wheels on for easy moving
  • Might be necessary to replace donuts once a year
     

Clean Up Checklist

Use sanitizer in pump sprayer to spray down equipment after cleaning. Reassemble the conveyor and replace covers to the unit.

  • Floors – Use a squeegee to move water off floors throughout the cleaning process.
  • Drains*
  • Adjacent walls (if any)
  • Adjacent tables, pallets, etc (if any)

Run a fan or fan/heater to dry dry down equipment as quickly as possible to reduce the chances of missed bacteria multiplying.

* critical cleaning point

Wash Line Equipment Cleaning Reminders

  • Clean, to some degree, after daily use.
  • Follow 4-step cleaning regime.
  • Keep debris from drying on.
  • More frequent cleaning reduces establishment of bacteria.
  • After cleaning, dry down quickly with fan.
  • Routine cleaning makes deep cleaning a quicker job.

Project assistance provided by Kurt Forman, organic vegetable grower

Funding for this project was provided by The Northeast Center to Advance Food Safety